De-Duplication
Add steps to prevent duplication and add face to index
If the uploaded photo has passed the basic face detection checks, the next step is to ensure the face has not been stored in our collection already to prevent the same user from signing up multiple times. In this section, you will add a “Check Face Duplicate” step to your state machine by leveraging the FaceSearchFunction AWS Lambda function.
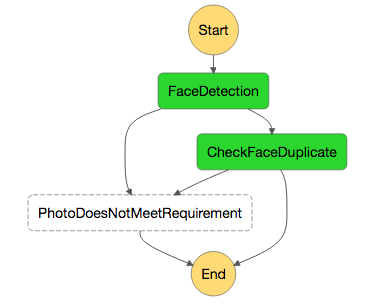
In the end of this section, your state machine should resemble the following:
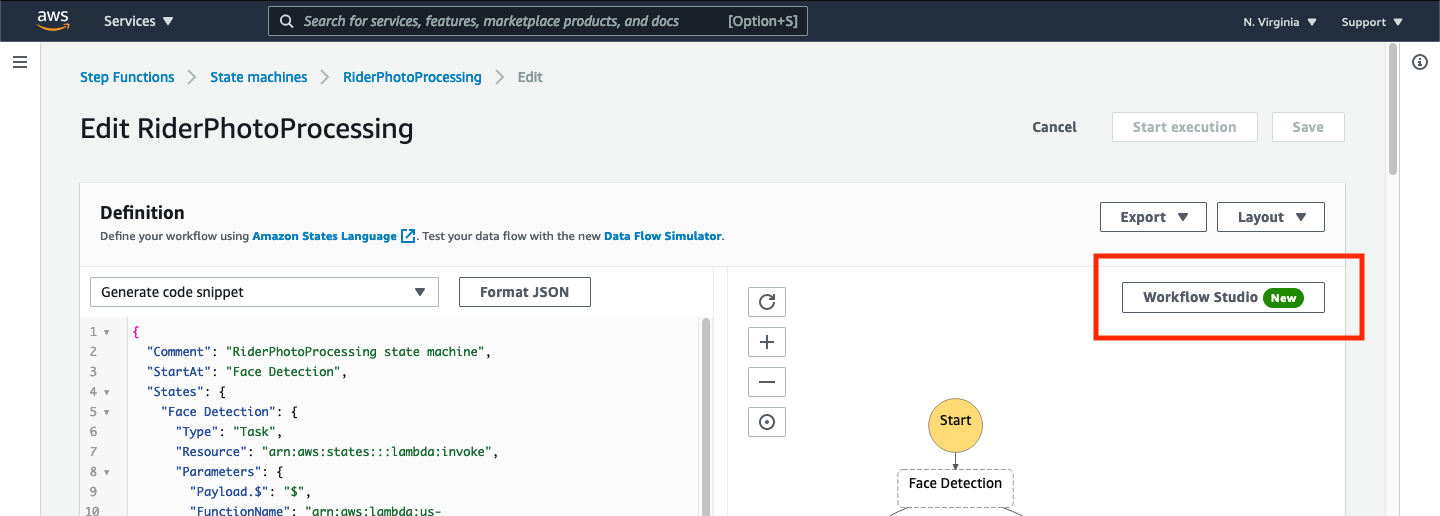
➡️ Step 1: Edit your state machine by returning to the Workflow Studio.
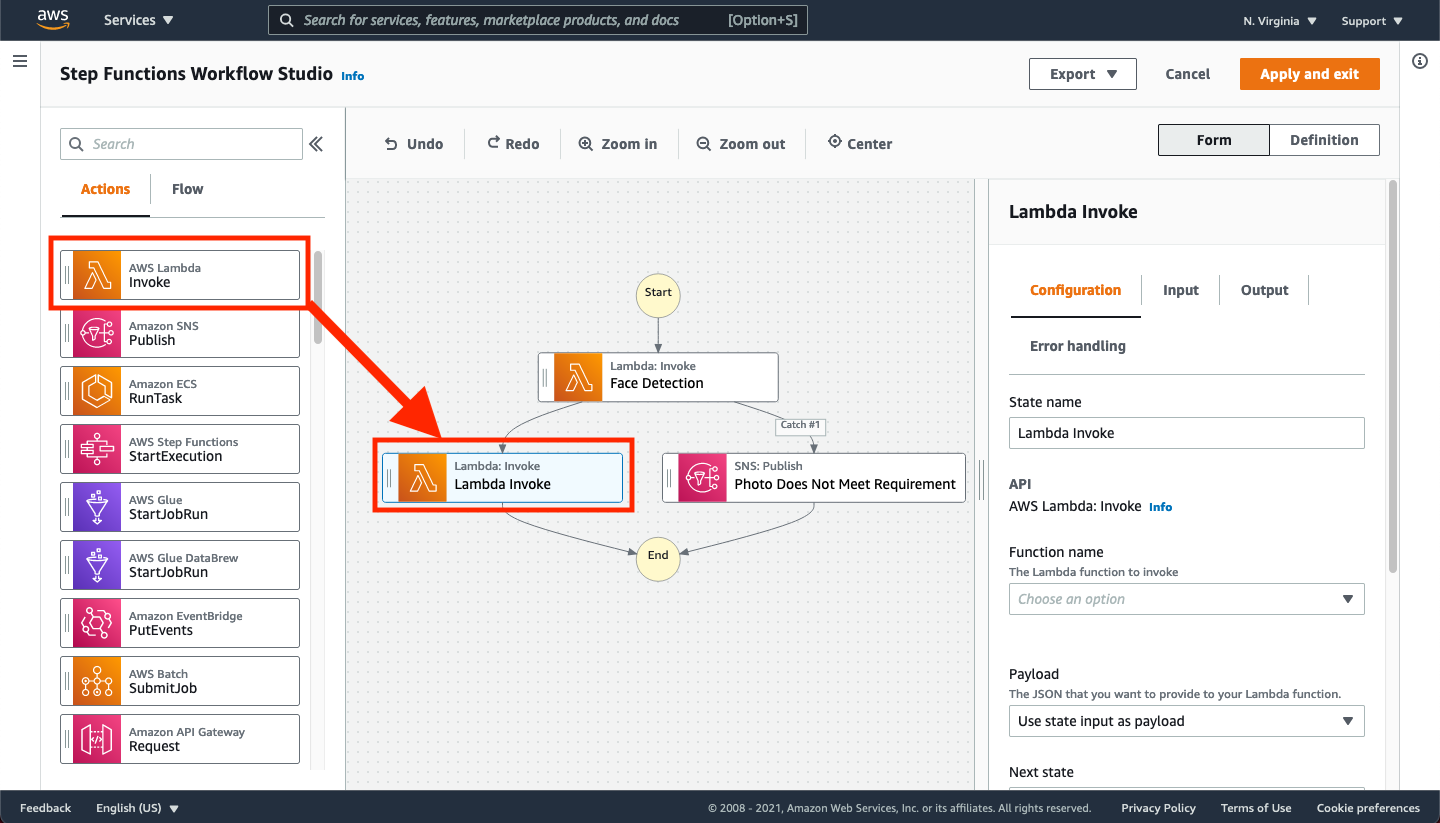
➡️ Step 2: Add a new lambda invocation state.
Drag the AWS Lambda Invoke action from the “States browser” and drop it onto the “State machine canvas” between the Face Detection and End states (next to the Photo Does Not Meet Requirement state). When done, you should see the following:
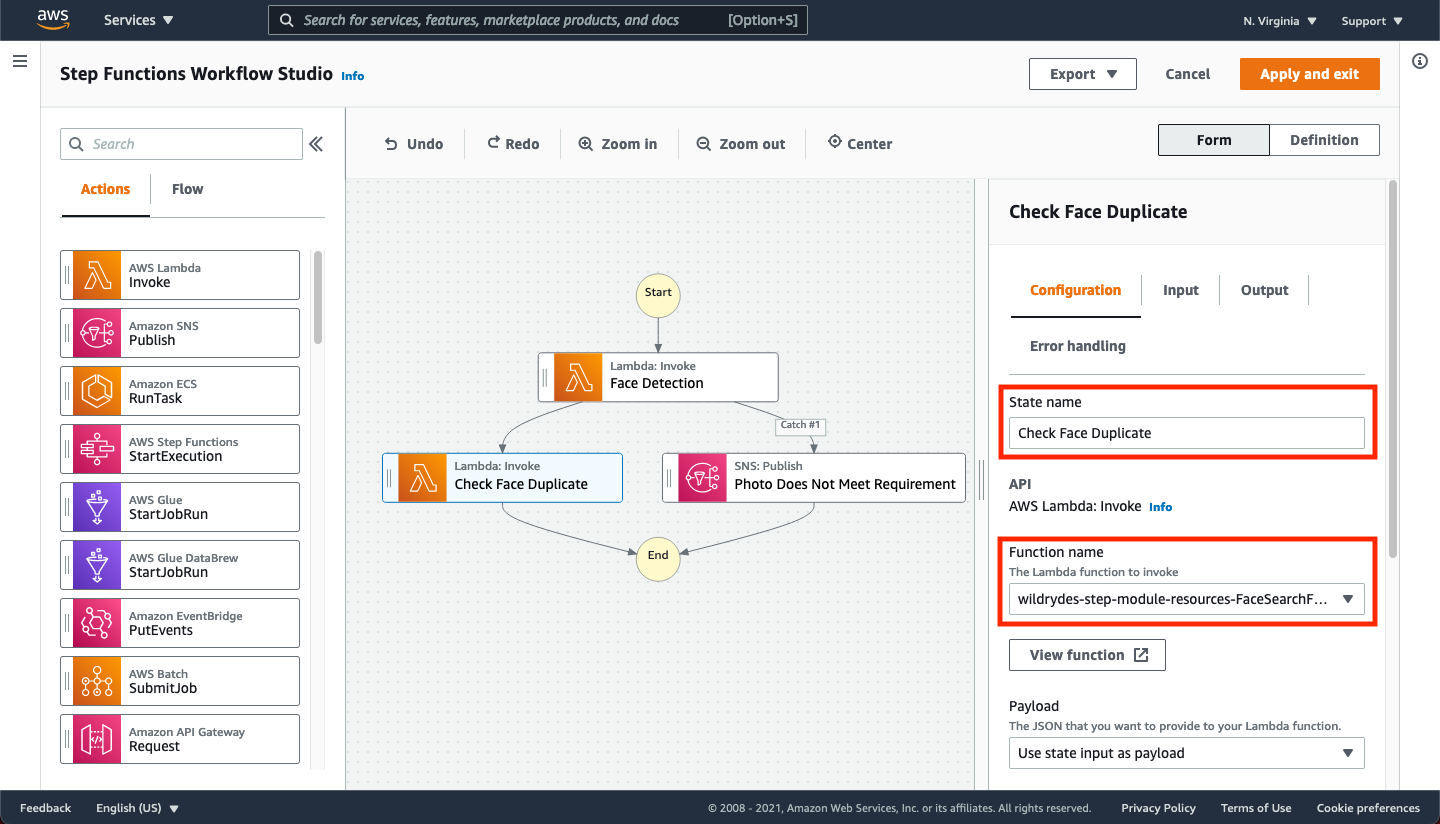
➡️ Step 3: Configure the newly created state.
Change the state name to Check Face Duplicate. Then, in the drop-down control for Function Name, select the AWS Lambda function that will be called when this step is reached in the state machine. For this lab, this should be named something similar to wildrydes-step-module-resources-FaceSearchFunction-XXXXXXXXXXX:$Latest. The results should look similar to:
Choose the Output tab in the “Configuration panel” and click the check box next to Add original input to output using ResultPath. Choose the option to Combine original input with result and use $.Inputs as the JSONPath value. Be sure to remove the check mark next to the other two options (Transform result with ResultSelector and Filter output with OutputPath)
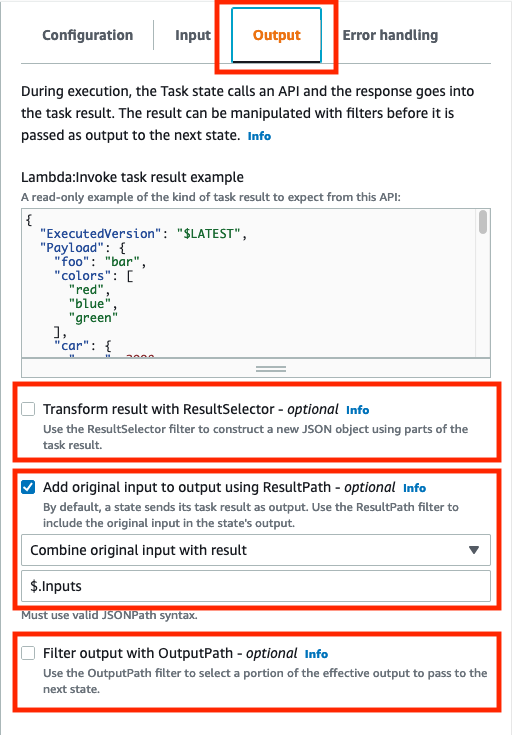
Make sure that ONLY the Add original input to output using ResultPath option is chosen. If either of the other two check boxes are selected, you will likely receive a failure when executing the state machine.
➡️ Step 4: Add an error handler.
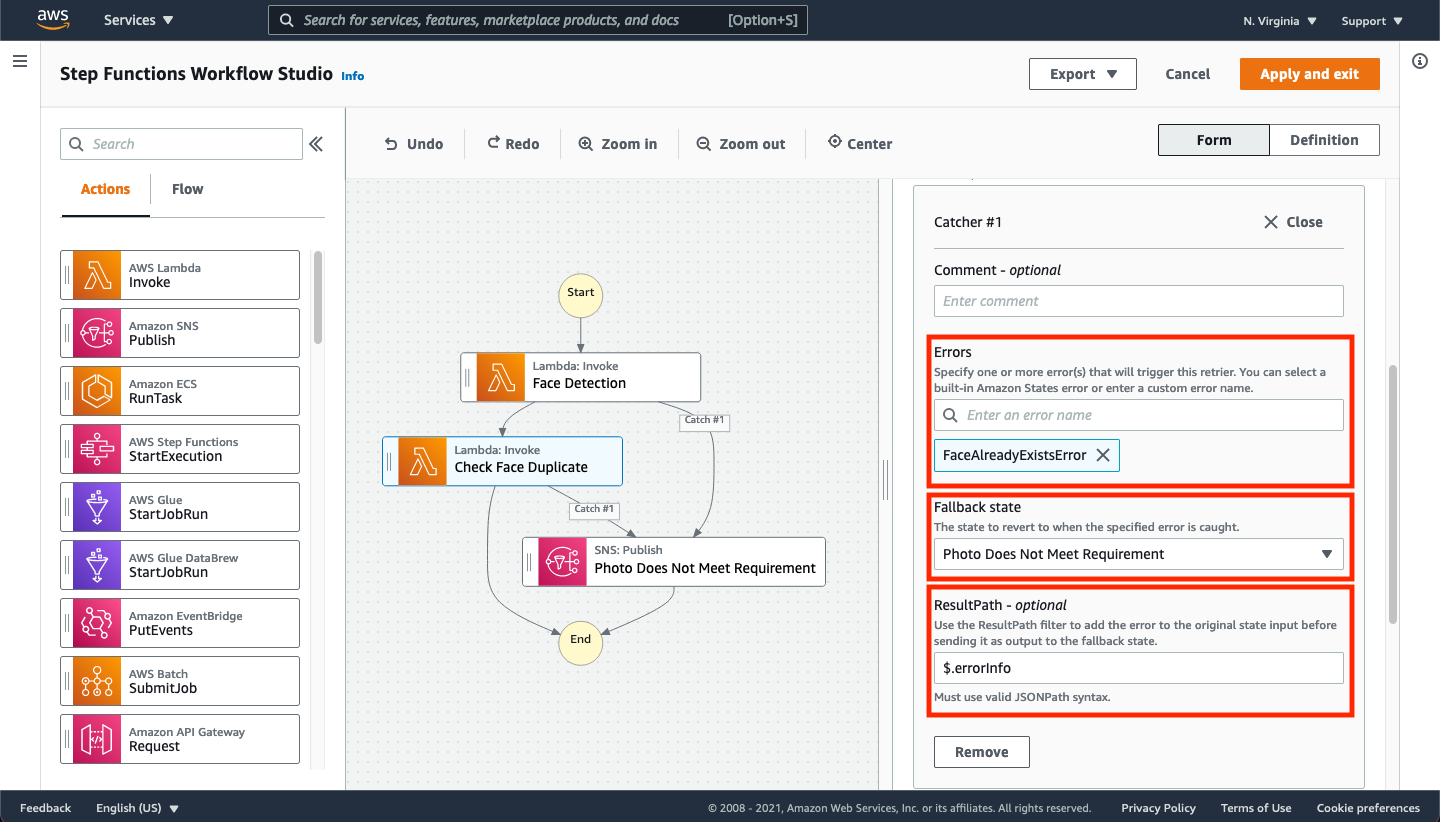
As with the Face Detection Lambda function, Check Face Duplicate Lambda function will throw an error if a duplicate is found. We need to add a handler for this specific error by clicking on the Error handling tab and then + Add new catcher. Configure Catcher #1 to have the following details:
- Errors: Type
FaceAlreadyExistsErrorand press Enter - Fallback state: Select Photo Does Not Meet Requirement from the drop-down list
- ResultPath: Enter
$.errorInfo
The results of these configuration options should result in your state machine looking similar to the following:
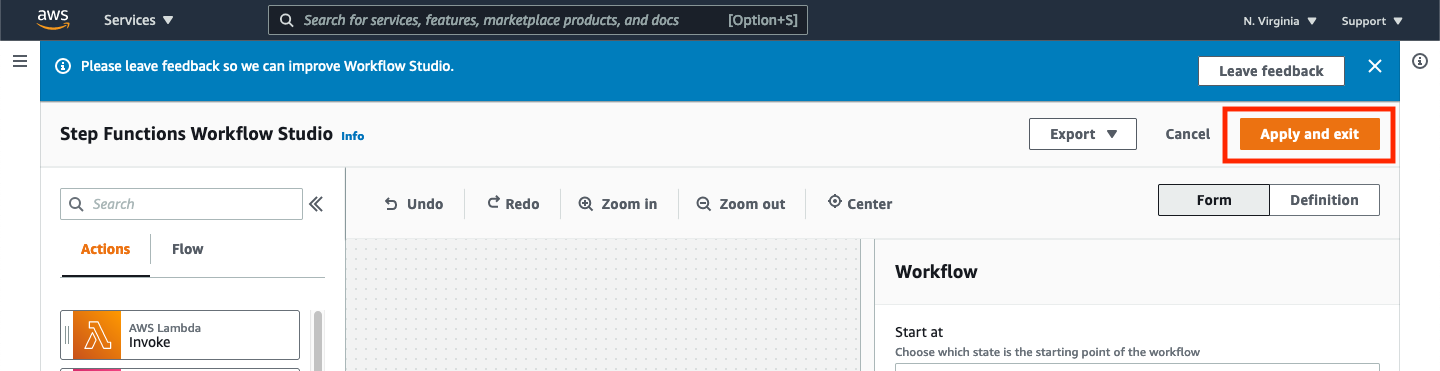
➡️ Step 5: Save your changes.
Click Apply and exit in the top right of the window to apply all changes and return to the state machine definition page.
To save the changes you made, you must also click the Save button in the top right of the state machine definition page.
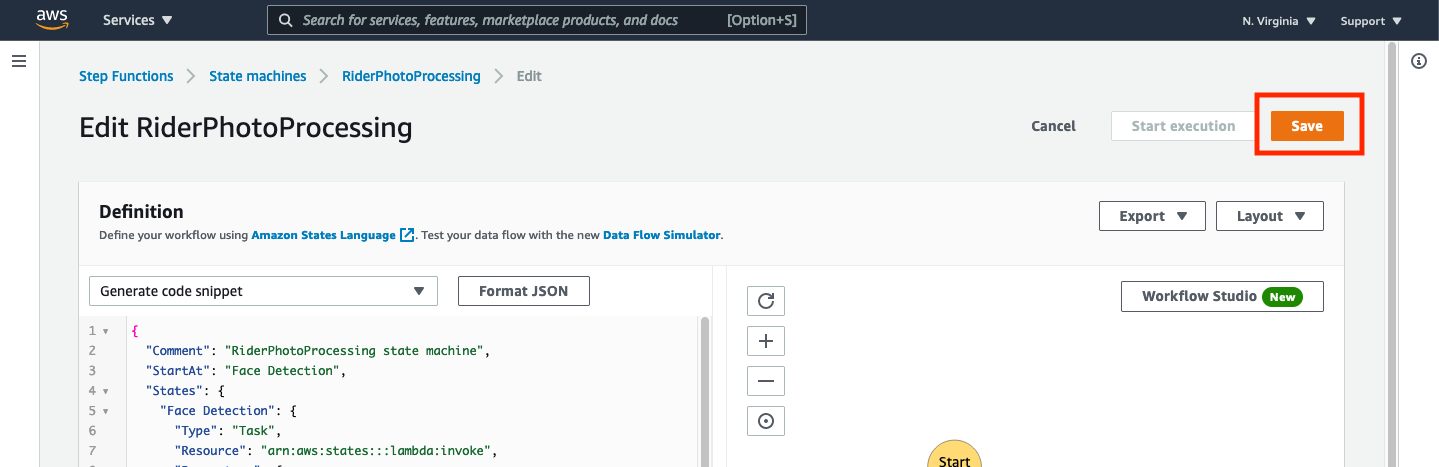
Saving changes to the state machine made using the Workflow Studio interface requires both applying the changes (to leave the Workflow Studio interface) and pressing the Save button once you have exited the workflow interface. If you fail to do either of these steps, the changes made to the state machine will not be saved.
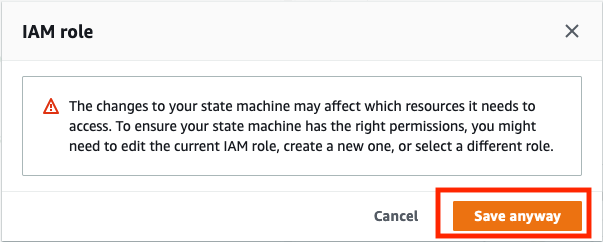
You may get an alert dialog when saving informing you that your changes may affect the resources the state machine needs to access. Click Save anyway.
✅ You should get a confirmation that your state machine was successfully saved. At this point, we can’t really test the functionality of duplication checks because we aren’t indexing the submitted images within Amazon Rekognition collection. We’ll do that in the next section.