Cleanup
If you are participating in this workshop at an AWS-hosted event using Event Engine and a provided AWS account, you do not need to perform the cleanup operations in this section. We will cleanup all managed accounts afterwards on your behalf.
💡 The following steps are used to cleanup all resources provisioned by this workshop to ensure there is no further usage of these services metered against your AWS account.
Empty the cloud trail bucket
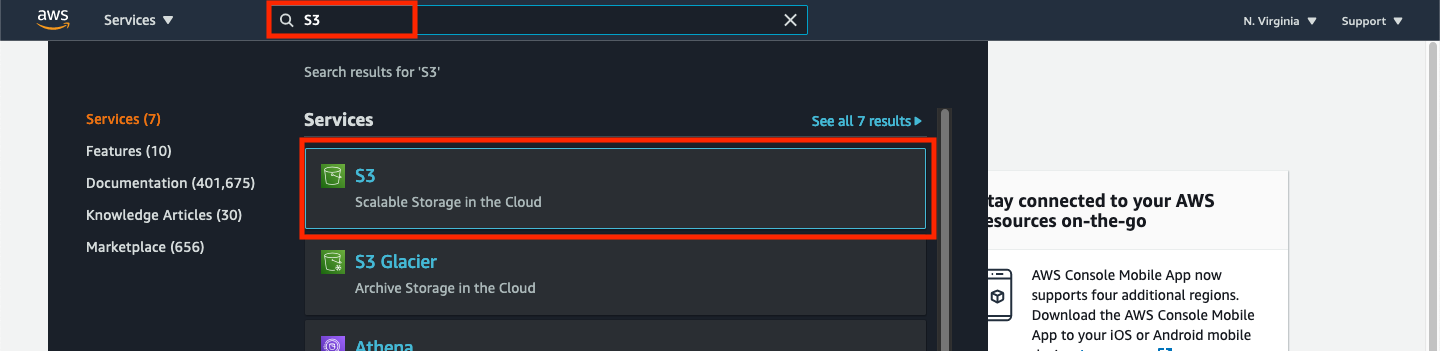
➡️ Step 1: Navigate to the S3 dashboard.
From the AWS Management Console, type S3 in the search field at the top of the window and select s3 from the list of services.
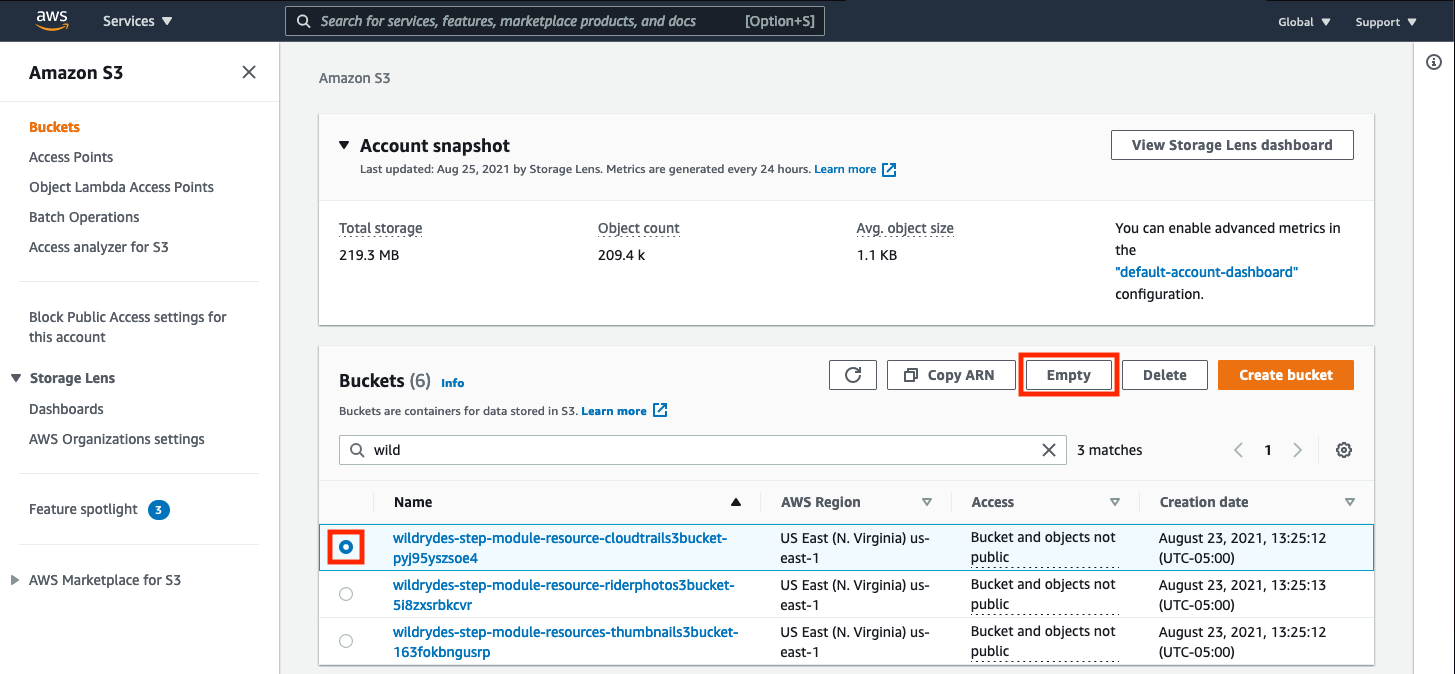
➡️ Step 2: Select and empty the CloudTrail bucket.
Select the radio button next to the bucket beginning with wildrydes-step-module-resource-cloudtrails3bucket- and click the Empty button.
➡️ Step 3: Confirm your request.
You will be asked to confirm your request to empty the bucket. To confirm, type the requested phrase in the box and press the Empty button.
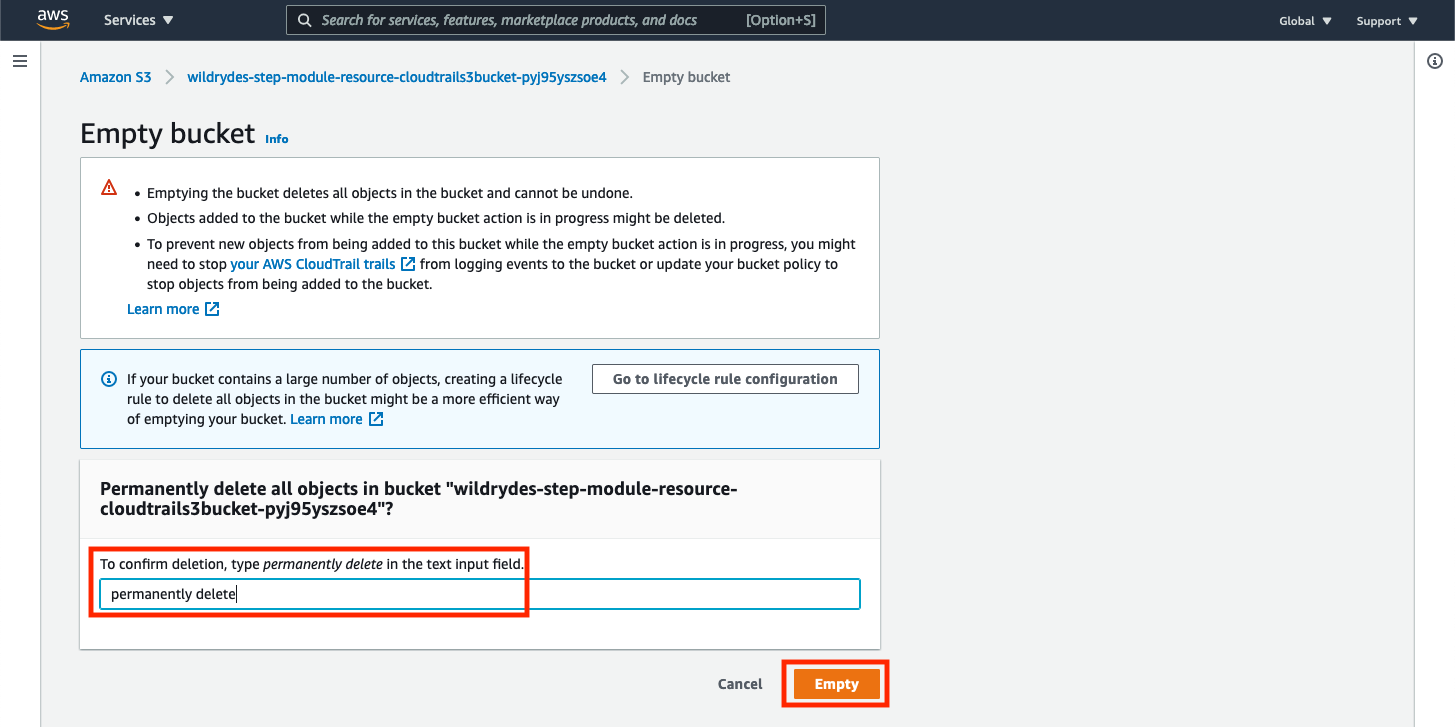
You should receive a success message. Click the Exit button that appears in the top right of the window.
Delete the Amazon Rekognition collection
➡️ Step 4: Delete the collection in Cloud9.
In your Cloud9 terminal window, delete the Amazon Rekognition collection by running the following command (replace the REPLACE_WITH_YOUR_CHOSEN_AWS_REGION with the appropriate value).
aws rekognition delete-collection \
    --collection-id rider-photos \
    --region REPLACE_WITH_YOUR_CHOSEN_AWS_REGION
Delete the CloudFormation Stack
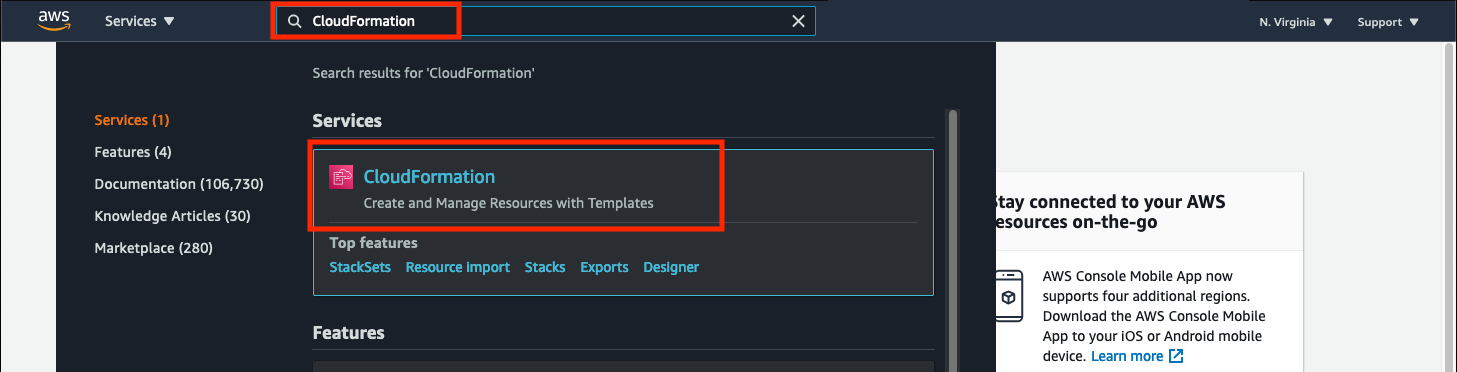
➡️ Step 5: Navigate to the CloudFormation dashboard.
From the AWS Management Console, type “CloudFormation” in the search field at the top of the window and select CloudFormation from the list of services.
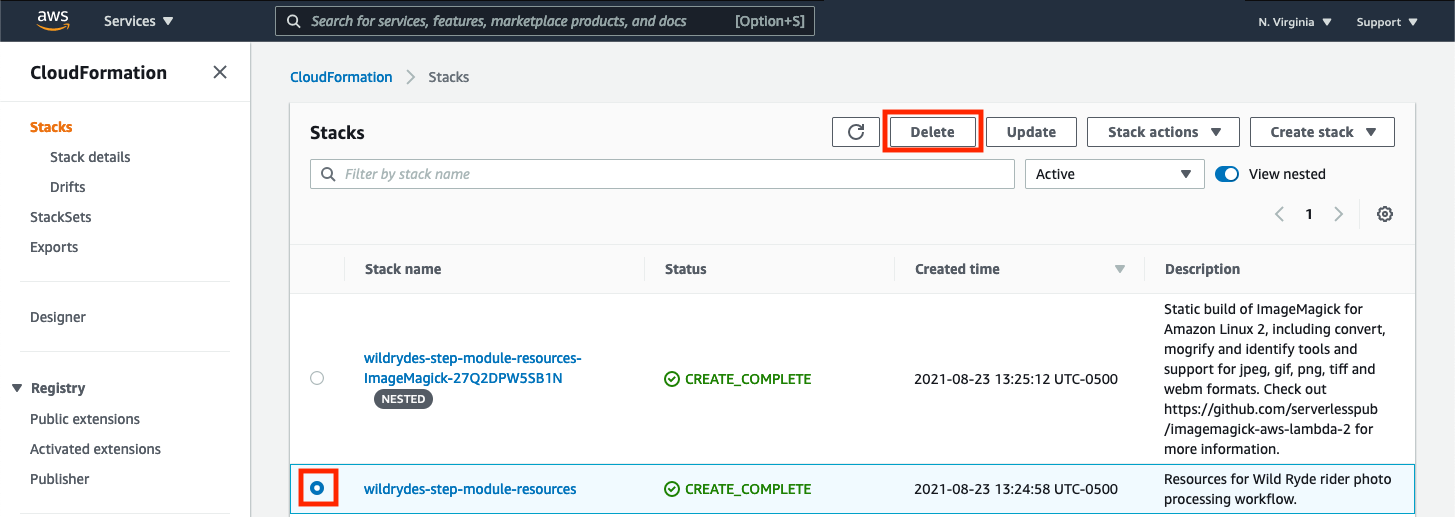
➡️ Step 6: Delete the stack.
From the list of CloudFormation stacks, select the wildrydes-step-module-resources stack and click the Delete button.
Our CloudFormation template actually created 2 stacks. One is nested and contains ImageMagick in the name. Do not delete this stack. It will automatically be deleted.
Click Delete stack in the confirmation dialog that appears.

The status of the wildrydes-step-module-resources will change to DELETE_IN_PROGRESS. Deleting this CloudFormation stack can take a few minutes. Keep refreshing the page until the stack is gone.
Delete the Cloud9 environment
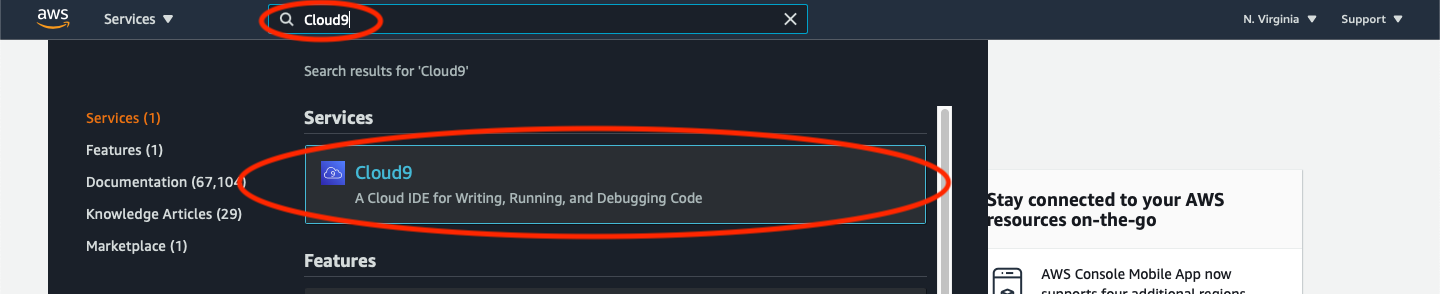
➡️ Step 7: Navigate to the “Cloud9 Dashboard.”
From the AWS Management Console, type Cloud9 in the search field at the top of the window and select Cloud9 from the list of services.
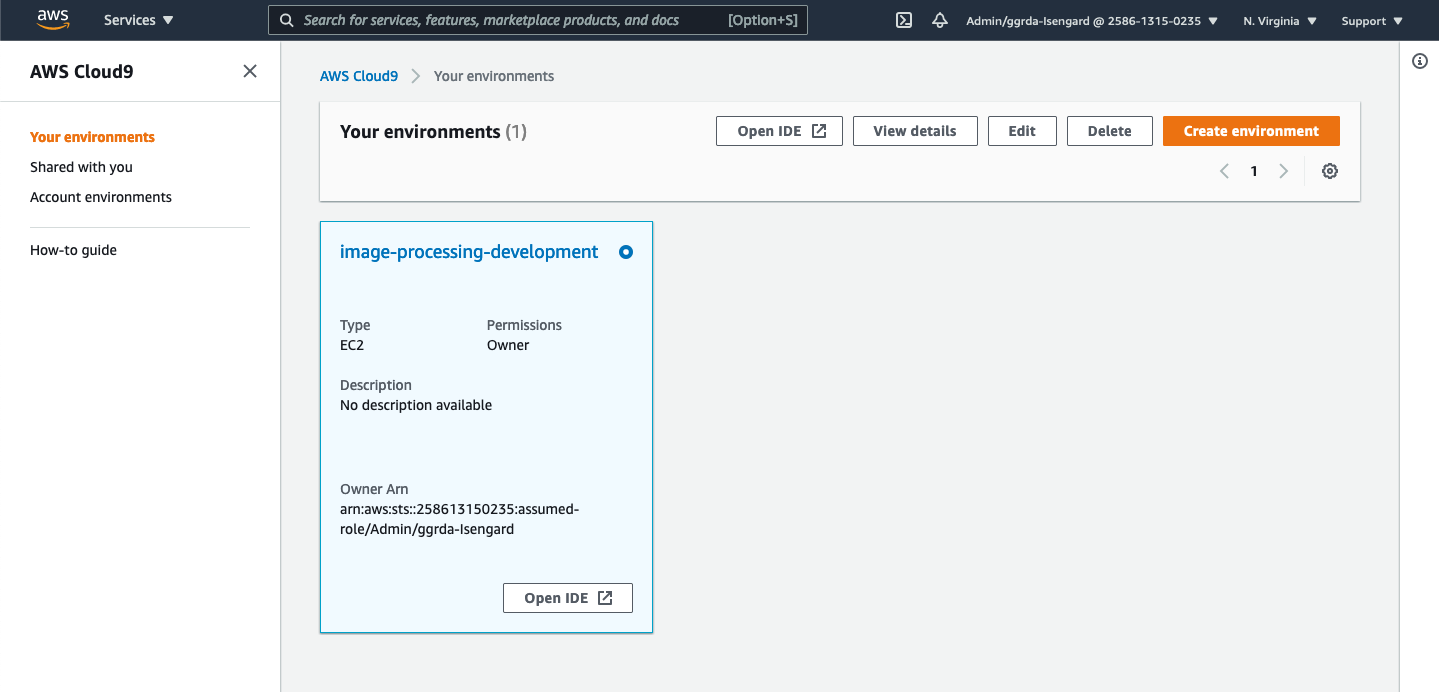
➡️ Step 8: Select and delete your environment.
Select the image-processing-development environment and click the Delete button.
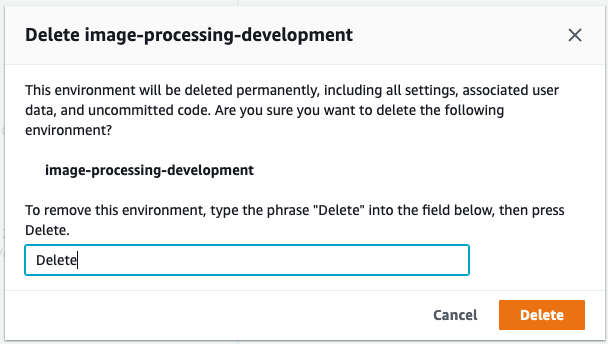
You will be asked to confirm your request to delete the environment. To confirm, type the requested phrase in the box and press the Delete button.
✅ Congratulations! Successfully completed this workshop. You’ve covered a lot of materials. Feel free to review any of the sections again at your leisure.