Validation Testing
Reset the environment state
To do some end-to-end validation of our completed workflow, let’s begin by removing any persisted metadata about our images from the test executions. That way, we can ensure that everything behaves as expected without having to concern ourselves with errors or Photo Does Not Meet Requirements exceptions that are due to having tested the state machine as we were building it.
➡️ Step 1: Let’s start by deleting our face collection for a clean testing state. Enter the following command into your Cloud9 terminal.
    aws rekognition delete-collection \
        --collection-id rider-photos \
        --region REPLACE_WITH_YOUR_CHOSEN_AWS_REGION
➡️ Step 2: Now, recreate the face collection. Enter the following command into your Cloud9 terminal.
    aws rekognition create-collection \
        --collection-id rider-photos \
        --region REPLACE_WITH_YOUR_CHOSEN_AWS_REGION
➡️ Step 3: Finally, let’s navigate back to our Step Function state machine and test the final state machine (RiderPhotoProcessing) with different test images provided
Photo with happy face:
{
	"userId": "user_a",
	"s3Bucket": "REPLACE_WITH_YOUR_BUCKET_NAME",
	"s3Key": "1_happy_face.jpg"
}
Photo with sunglasses:
{
	"userId": "user_b",
	"s3Bucket": "REPLACE_WITH_YOUR_BUCKET_NAME",
	"s3Key": "2_sunglass_face.jpg"
}
Photo with multiple faces in it:
{
	"userId": "user_c",
	"s3Bucket": "REPLACE_WITH_YOUR_BUCKET_NAME",
	"s3Key": "3_multiple_faces.jpg"
}
Photo with no faces in it:
{
	"userId": "user_d",
	"s3Bucket": "REPLACE_WITH_YOUR_BUCKET_NAME",
	"s3Key": "4_no_face.jpg"
}
➡️ Step 4: Go to the Amazon DynamoDB console and check for entries.
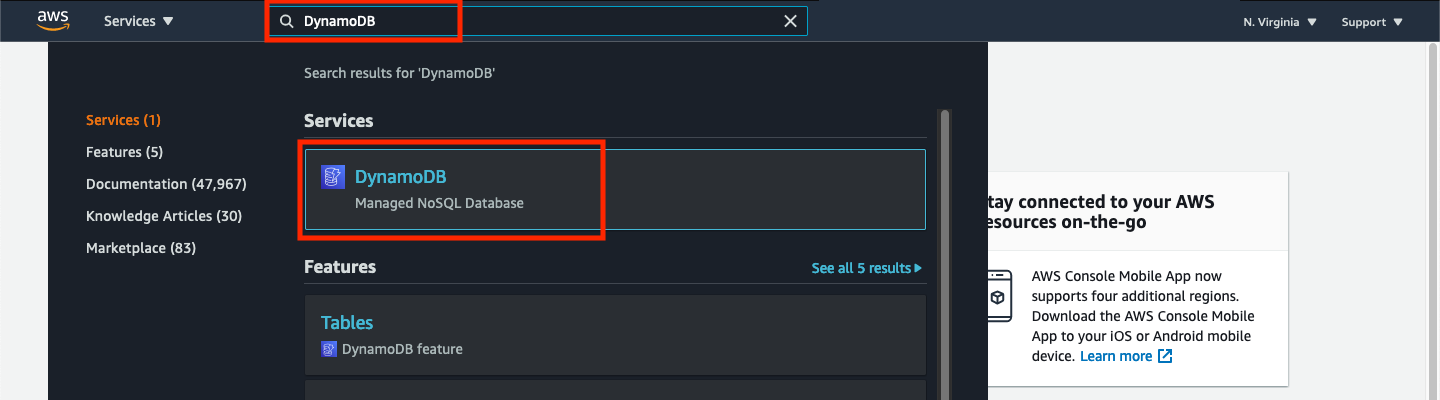
From the AWS Management Console, type DynamoDB in the search field at the top of the window and select DynamoDB from the list of services.
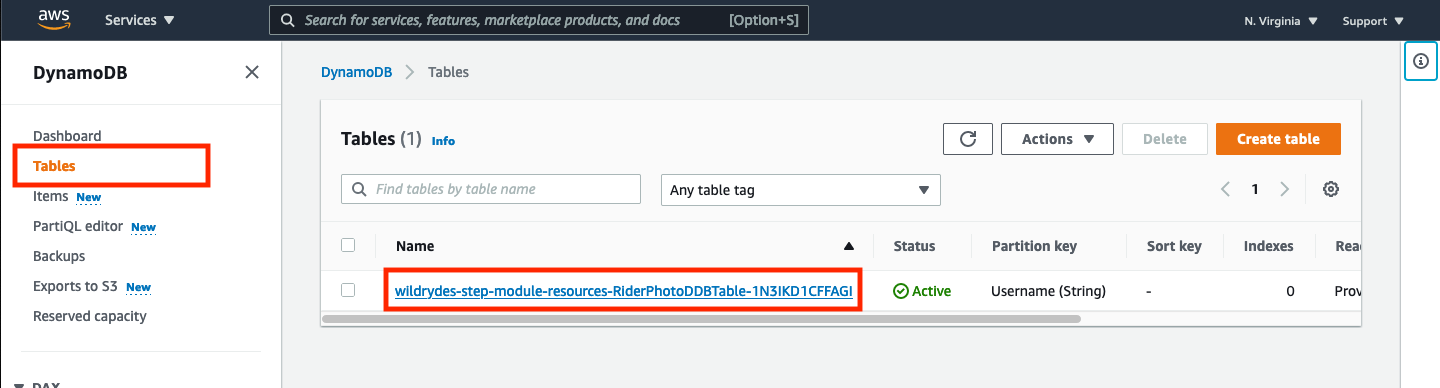
From the menu on the left side of the screen, click Tables, then click the link for the table that begins with wildrydes-step-module-resourcs-RiderPhotoDDBTable-.
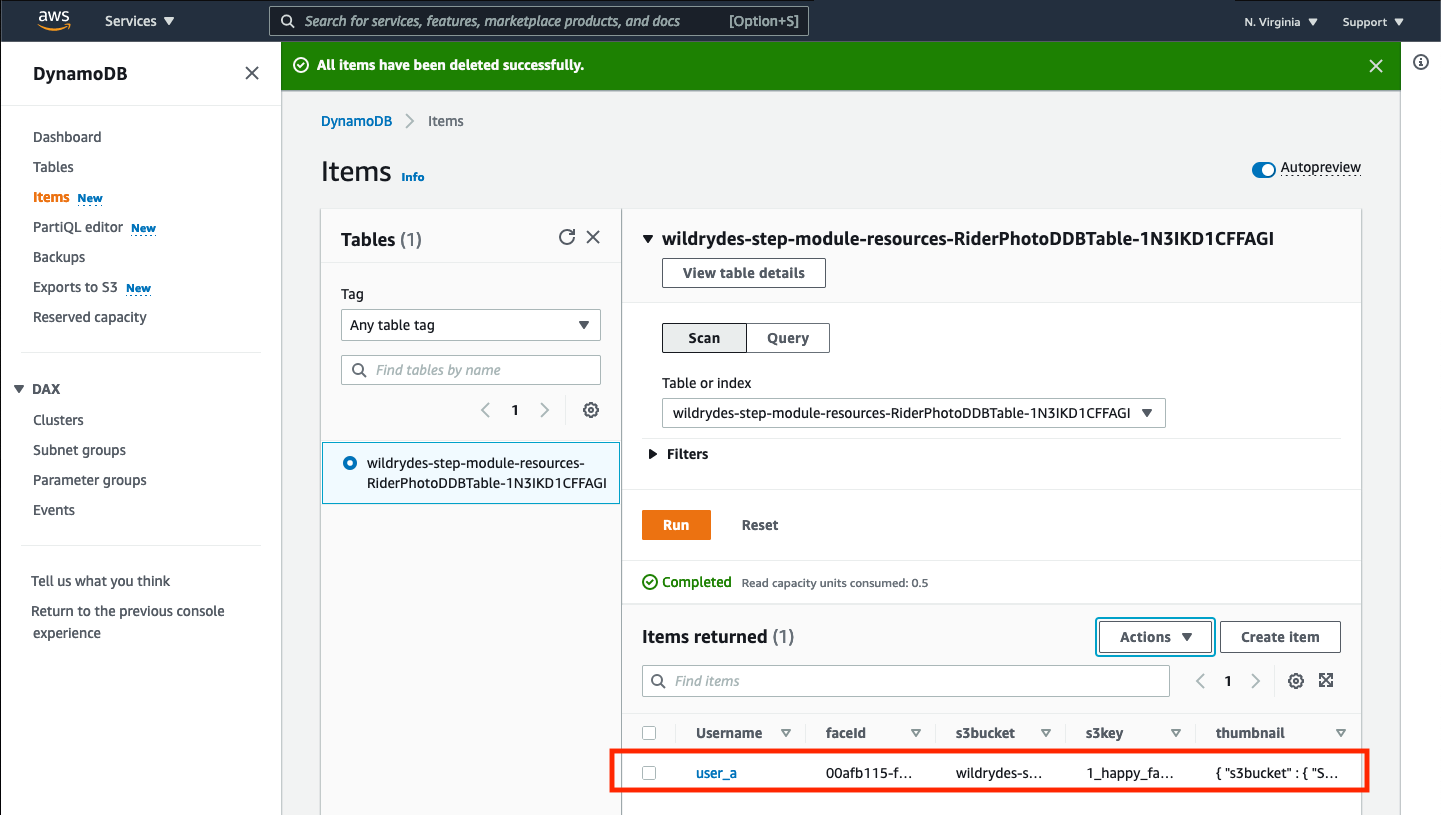
From here, you’ll be able to see that only the metadata for valid photos have been saved. Note in the image below, only the metadata for “user_a” exists.
➡️ Step 5: Upload some pictures you have to S3, test some executions. If you have more than one picture of the same person, upload them both and run the workflow on each picture (make sure to use different userId fields in the test input). Verify the CheckFaceDuplicate step will prevent the same face from being indexed more than once.
➡️ Step 6: Go to the Amazon S3 console, verify the thumbnail images of the photos you processed are in the thumbnail S3 Bucket.
✅ You have successfully built a multi-step image processing workflow using AWS Step Functions! Until now, we’ve been triggering the workflow manually from within the AWS Console. However, workflows can also be triggered in response to events occurring within your AWS environment. In the next section, we will trigger the workflow in response to an S3 object upload event.