Parallel Processing
Processing tasks in parallel is a useful design pattern when tasks are independent of one another. Let’s consider the hypothetical scenario where your state machine needs to transcode 4 video files from a recording device to be suitable for streaming to a mobile phone. If your state machine converted each video serially (convert video 1, then video 2, then video 3, etc), the time your state machine takes to execute is the time for all other states, plus the sum of the conversion states for each video (video 1 conversion time plus video 2 conversion time, and so on). However, because converting video 1 does not impact how video 2 would be converted, you can do these in parallel. This would increase your state machine execution time only by the longest video conversion time and thus reduce your overall state machine execution time. Let’s employ this concept in our state machine.
Add parallel processing step
If the uploaded photo passes both the FaceDetection and CheckFaceDuplicate stage, we can now proceed to index the rider’s face and resize the photo for displaying in the app. Since these two steps don’t depend on one another, they can be run in parallel. We will add a Parallel state in AWS Step Functions to run these steps.

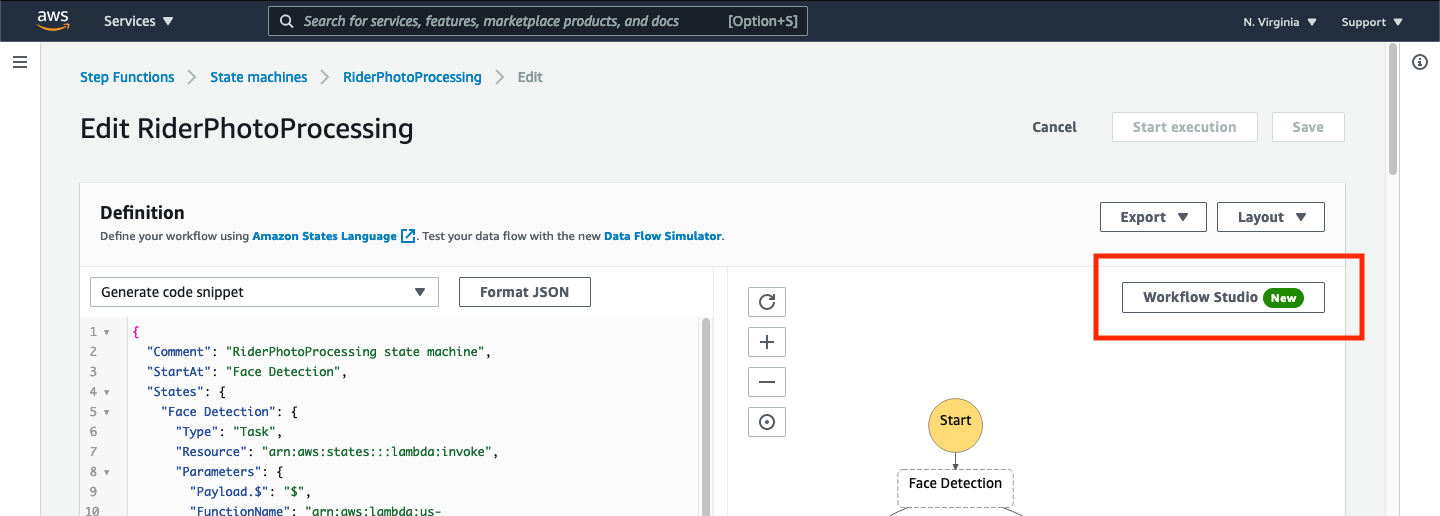
➡️ Step 1: Edit your state machine by returning to the Workflow Studio.
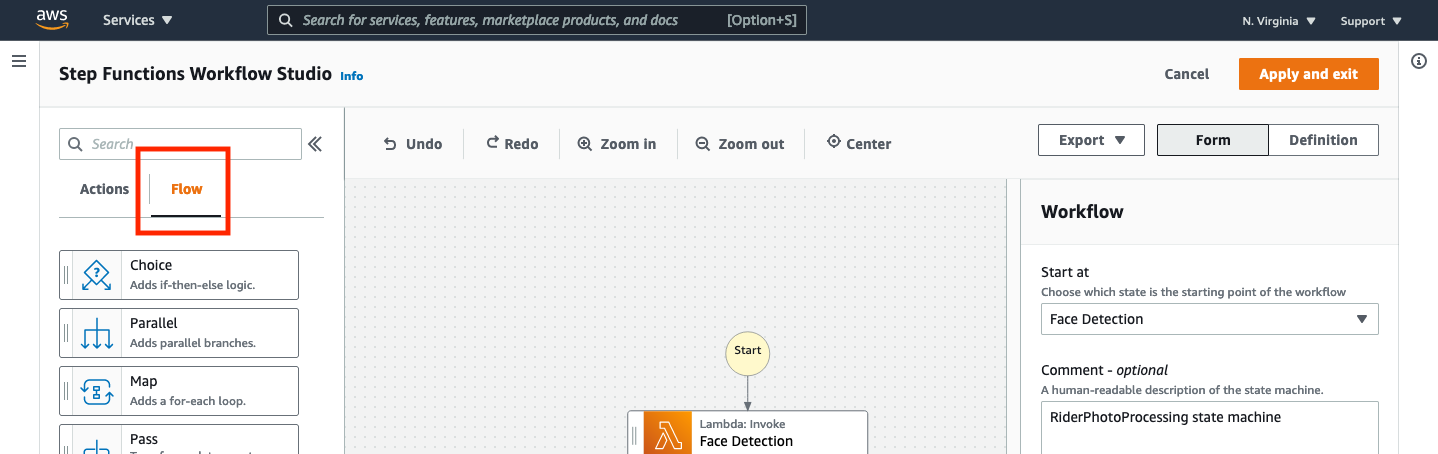
➡️ Step 2: Select the Flow tab in the “States browser” panel.
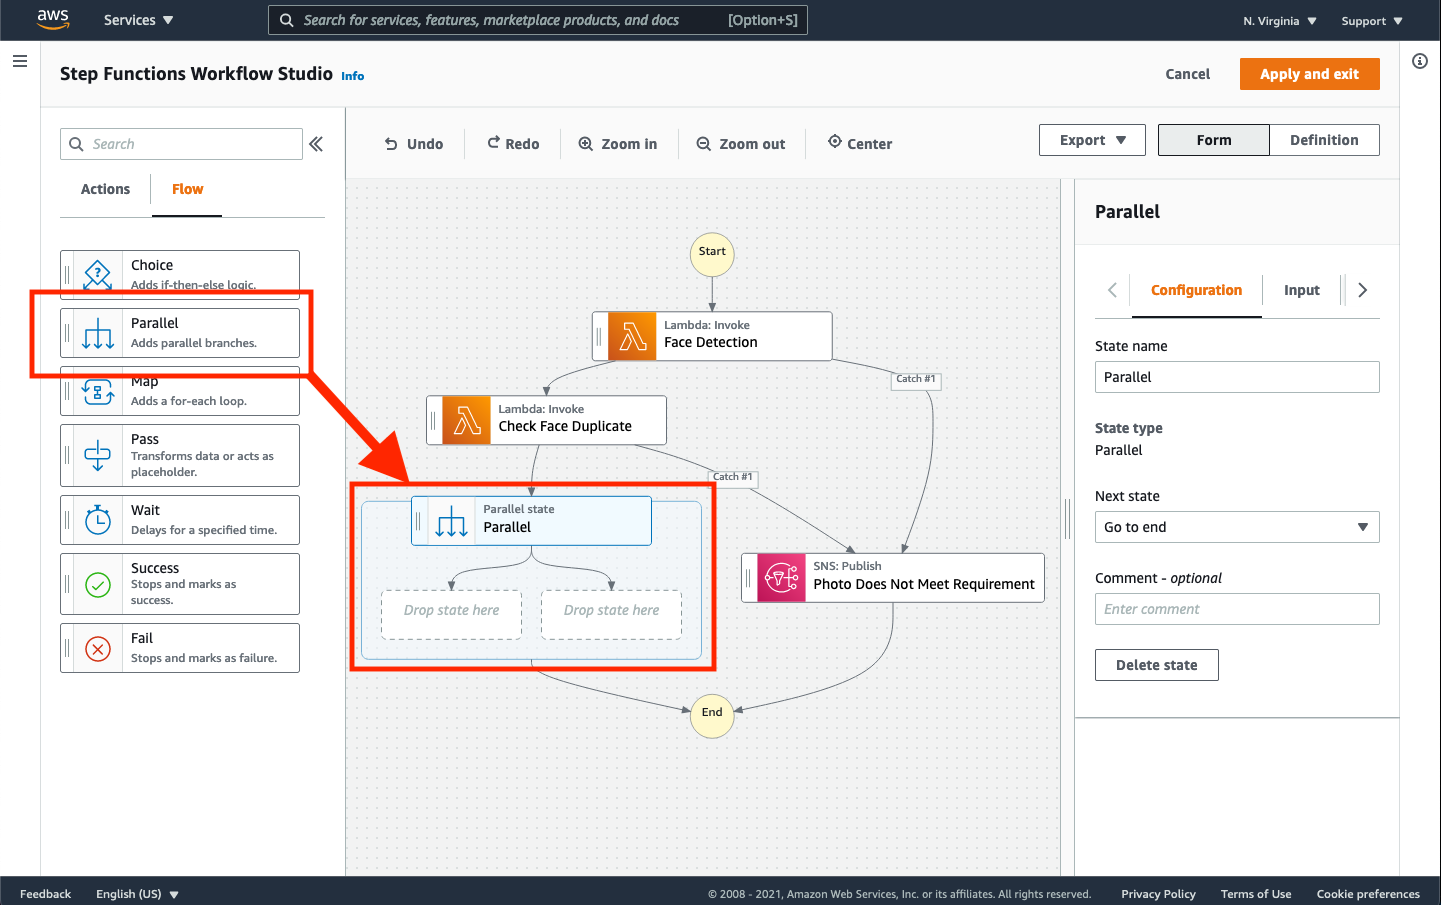
➡️ Step 3: Add a “Parallel” step to the workflow.
Drag the Parallel step from the “States browser” and drop it in between the Check Face Duplicate and End states (next to the Photo Does Not Meet Requirement state). When done, you should see the following:
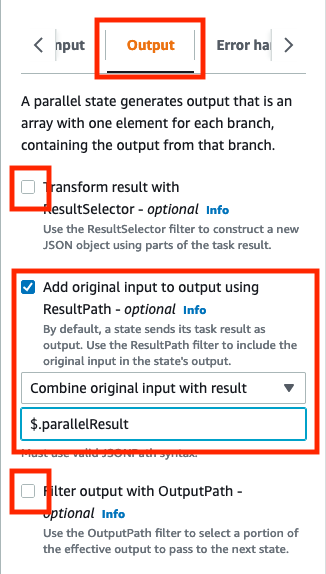
Click over to the Output tab in the “Configuration panel” and check the box next to Add original input to output using ResultPath. From the drop-down, choose Combine original input with result and type $.parallelResult as the JSONPath for the output.
Replace the placeholder steps with Lambda Functions
Note, there are two placeholder states within the Parallel state. You can add more than two states by just dragging and dropping more than two states within the Parallel state bounding box, but for the current workshop, two is all we need. Let’s replace these placeholders with functionality to update the face collection index and generate thumbnails.
Pay attention to the ordering of the states within the Parallel state shown below as later steps expect this order.
➡️ Step 4: Switch back over to the Actions tab in the “States browser” panel and drag and drop a Lambda Invoke action to the left placeholder state within the Parallel state.
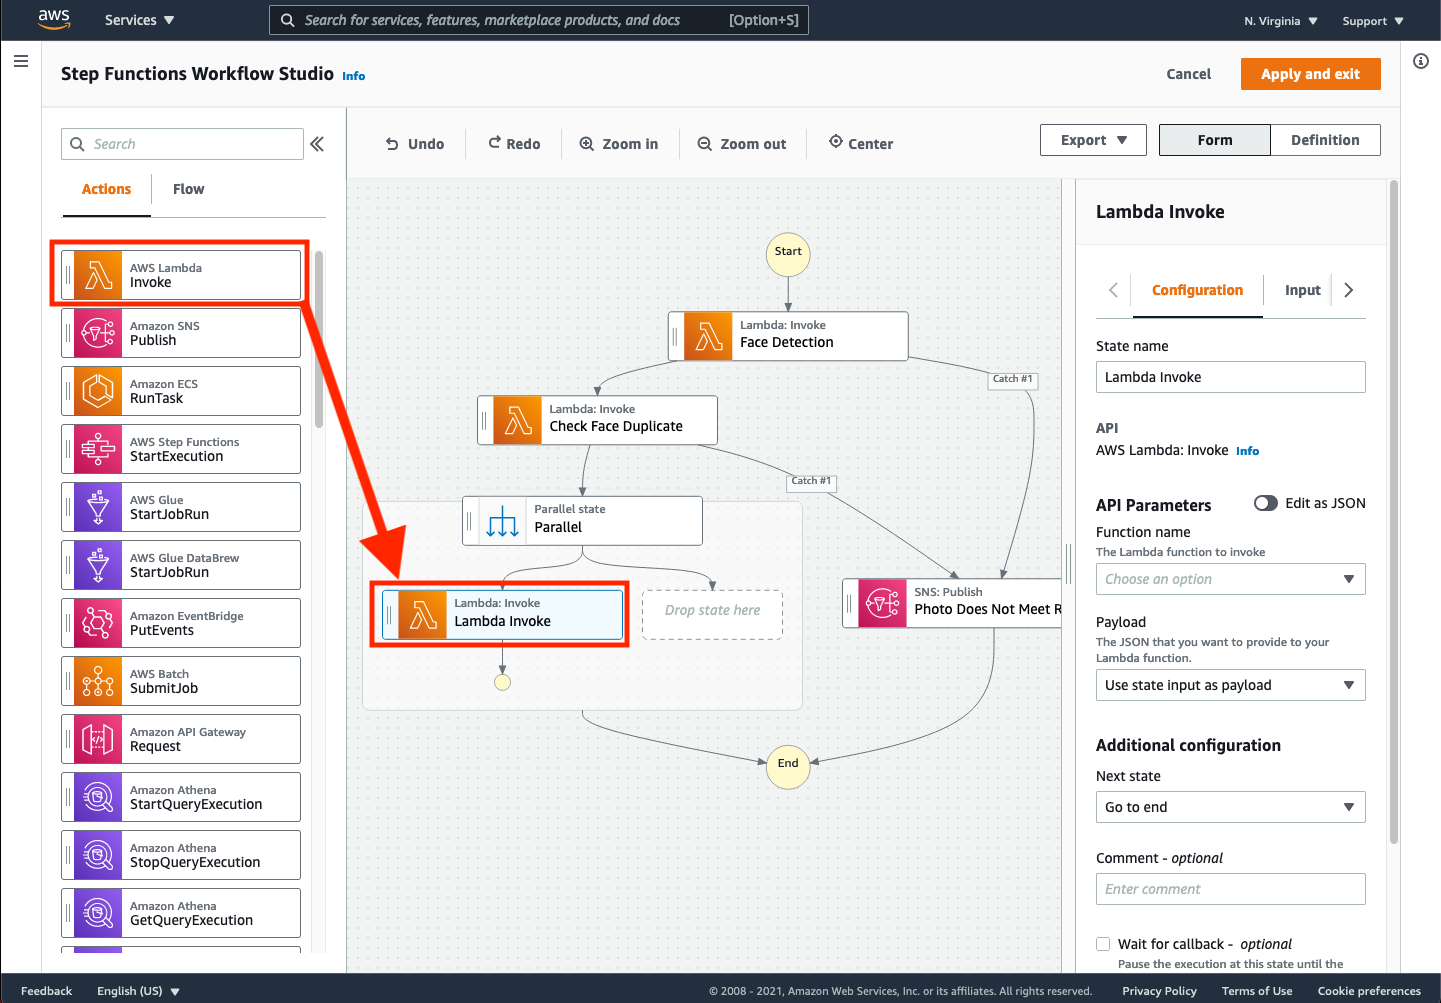
➡️ Step 5: In the “Configuration panel”, change the settings for the new Lambda Invoke action as follows:
-
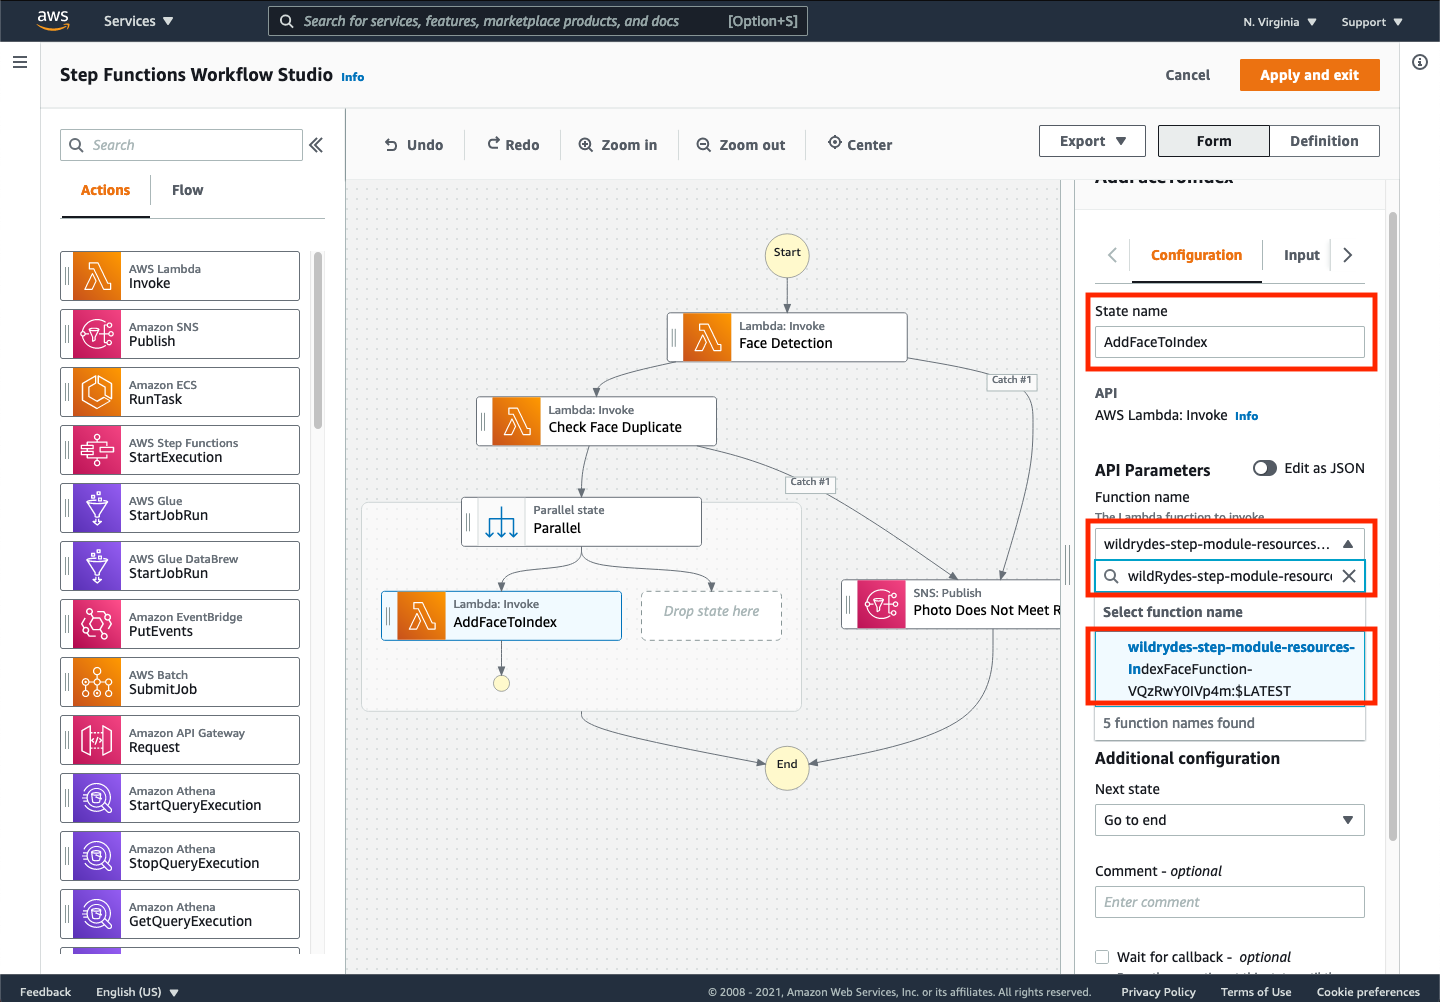
Change State name to
AddFaceToIndex -
Change the Function name to the function that begins with
wildrydes-step-module-resources-IndexFaceFunction
Choose the Output tab in the “Configuration panel” and remove all checkboxes that change the output from the step. It should look similar to the following:
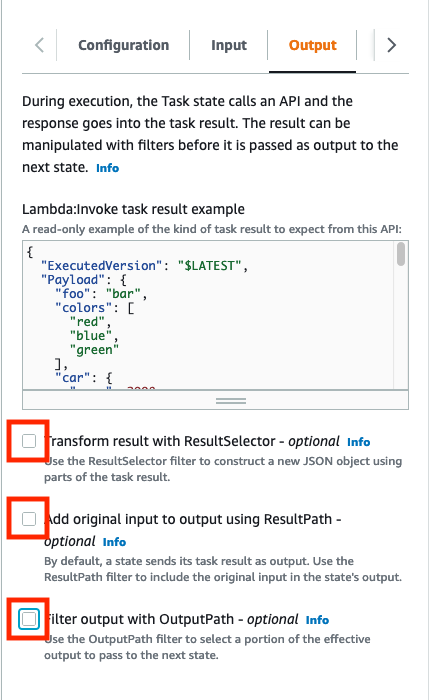
Make sure that NONE of the checkboxes are selected. If any of the check boxes are selected, you will likely receive a failure when executing the state machine.
➡️ Step 6: Repeat the process for the remining placeholder.
You can then repeat the above step to add another Lambda Invoke action to the remaining placeholder in the Parallel state, changing the settings as follows:
-
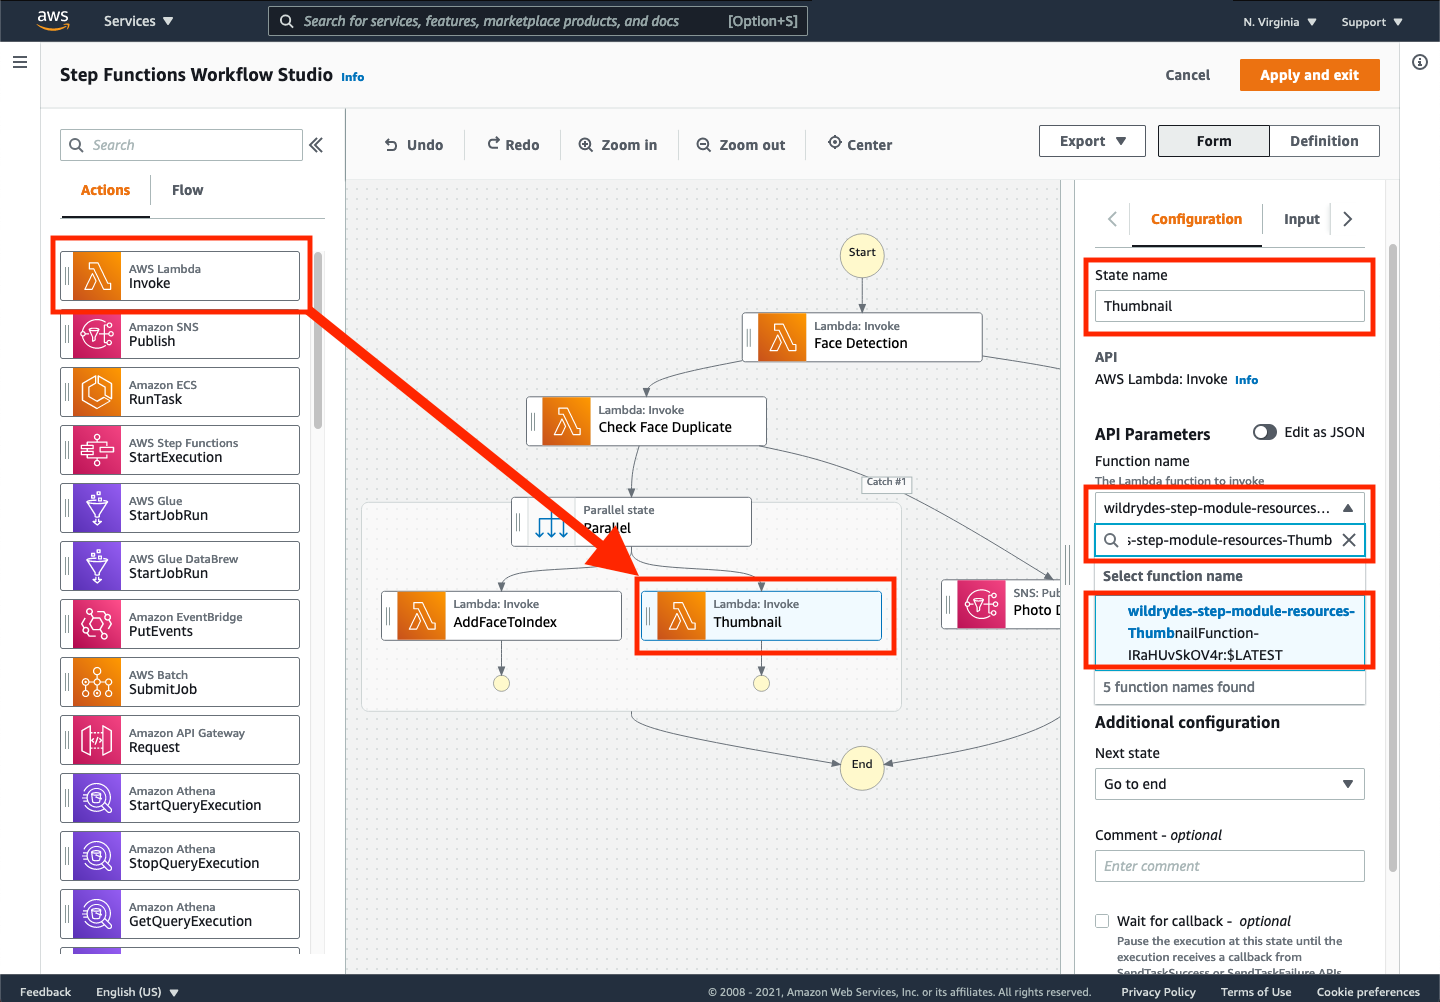
Change State name to
Thumbnail -
Change the Function name to the function that begins with
wildrydes-step-module-resources-ThumbnailFunction
Choose the Output tab in the “Configuration panel” and remove all checkboxes that change the output from the step. It should look similar to the following:
Make sure that NONE of the checkboxes are selected. If any of the check boxes are selected, you will likely receive a failure when executing the state machine.
➡️ Step 7: Save the changes.
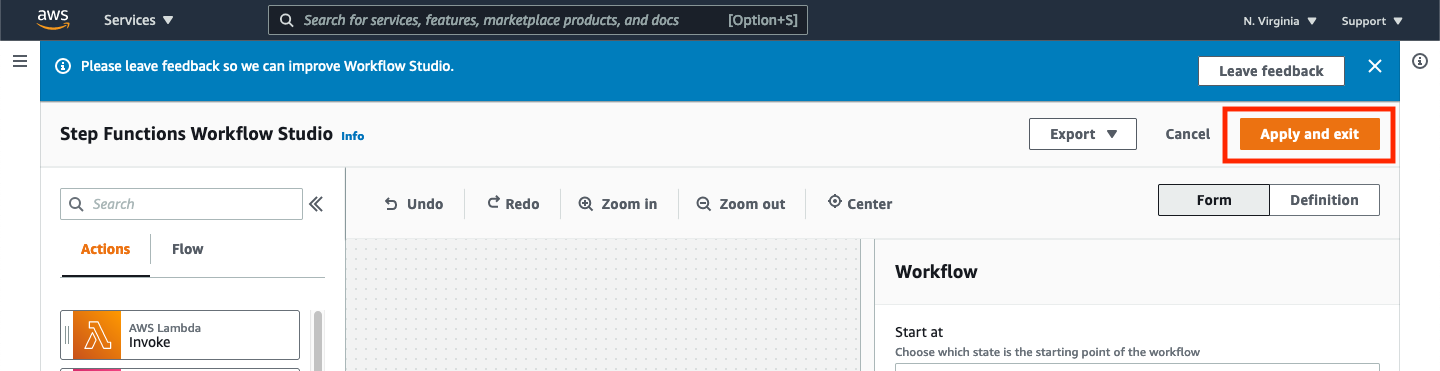
Click Apply and exit in the top right of the window to apply all changes and return to the state machine definition page.
To save the changes you made, you must also click the Save button in the top right of the state machine definition page.
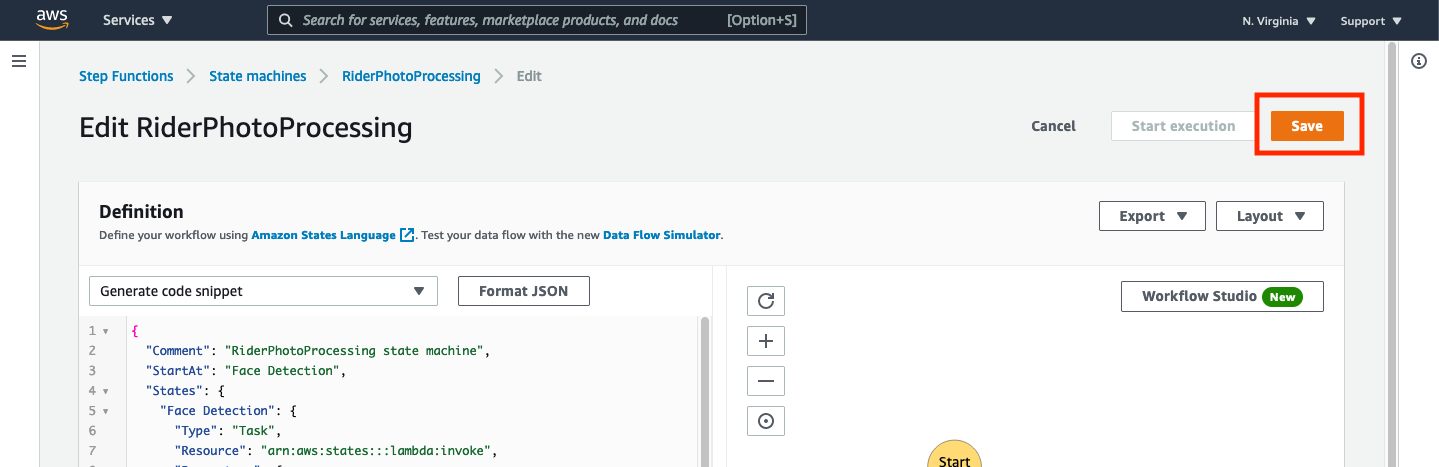
Saving changes to the state machine made using the Workflow Studio interface requires both applying the changes (to leave the Workflow Studio interface) and pressing the Save button once you have exited the workflow interface. If you fail to do either of these steps, the changes made to the state machine will not be saved.
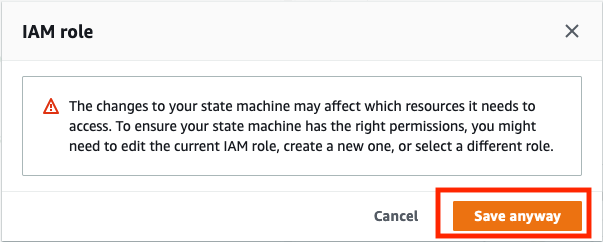
You may get an alert dialog when saving informing you that your changes may affect the resources the state machine needs to access. Click Save anyway.
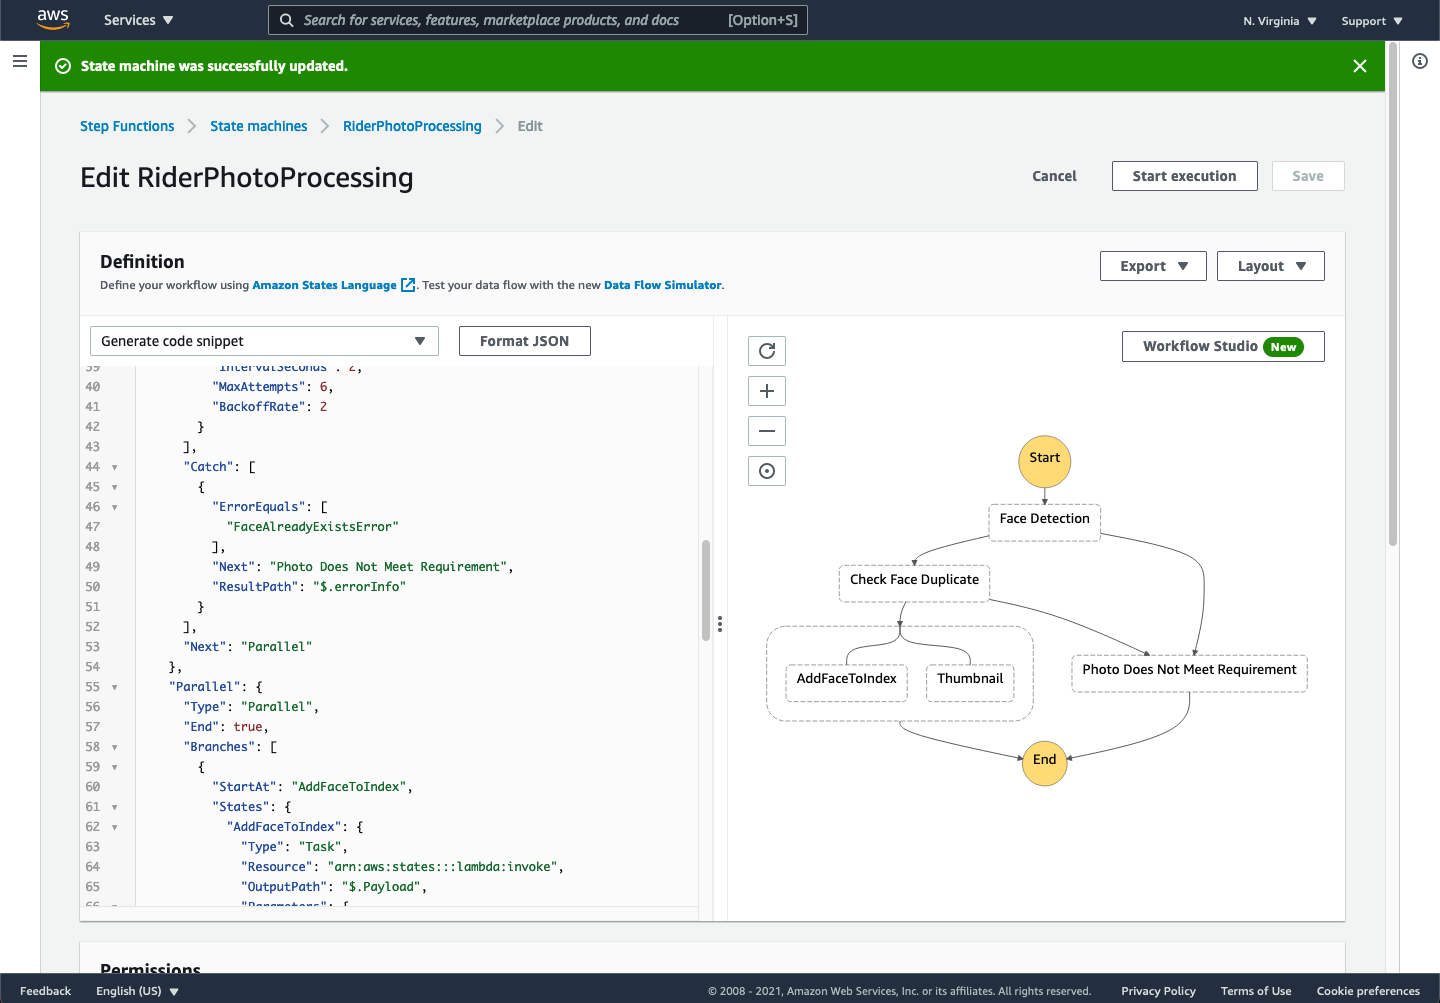
At this point, your saved state machine should look similar to the following:
Testing our changes
Up to this point, we have not saved any of the results of our state machine so all valid faces have successfully completed without sending emails, and invalid faces completed by sending an email with the error information (in JSON format). From this point on, there are two commands to be run from the Cloud9 IDE that will be useful for testing:
Listing faces that have been indexed in Rekognition
    aws rekognition list-faces \
        --collection-id rider-photos \
        --region REPLACE_WITH_YOUR_CHOSEN_AWS_REGION
Running this command (and substituting the appropriate region) will show a list of valid faces that have been indexed as part of the parallel step. Sometimes you’ll need to clear the list so we can retest without errors.
Removing a face from the Recognition collection
    aws rekognition delete-faces \
      --collection-id rider-photos \
      --face-ids REPLACE_WITH_ID_OF_FACE_TO_DELETE \
      --region REPLACE_WITH_YOUR_CHOSEN_AWS_REGION
Running this command (with appropriate substitutions) will remove the facial index associated with the given IDs so you can reuse images for testing purposes.
Rerun the standard case
➡️ Step 8: Run a test execution.
Click the Start execution button to test the new state machine with the test input you’ve used before:
{
	"userId": "user_a",
	"s3Bucket": "REPLACE_WITH_YOUR_BUCKET_NAME",
	"s3Key": "1_happy_face.jpg"
}
When the execution succeeds, you can use the AWS CLI to check the list of faces indexed in your Rekognition collection (replace the REPLACE_WITH_YOUR_CHOSEN_AWS_REGION portion with the region string of your chosen region). You can also use the Amazon S3 Console to check the Amazon S3 bucket created by AWS CloudFormation to store the resized thumbnail images. You should find resized thumbnail images in the bucket.
The name of the S3 bucket can be found in the in AWS CloudFormation output ThumbnailS3Bucket. You can also search for it in the S3 Console by looking a bucket beginning with wildrydes-step-module-resources-thumbnails3bucket-.
Checking for duplicates (Revisited)
➡️ Step 9: Run executions of the state machine to answer the following questions:
- What happens when you run an execution with the exact same input as a previous execution?
- What happens if you run an execution with a different
userIdbut the sames3keyands3bucketparameters?
✅ Congratulations! You have now tested and validated using parallel steps within your state machine.